Mirrors can have a variety of functions around your house apart from showing your reflection when you’re getting ready to go out. They can be used to create an optical illusion and make your space appear bigger than it actually is or placed strategically to reflect natural or ambient light and brighten up your rooms. You can also find many mirrors in different shapes or with unique frames that can lend their decorative character to your interior design. Whichever option you choose, the effect can be even better if you use LED lights, such as LED strip lights, to backlight your mirrors.
Where Can You Use Backlit Mirrors?
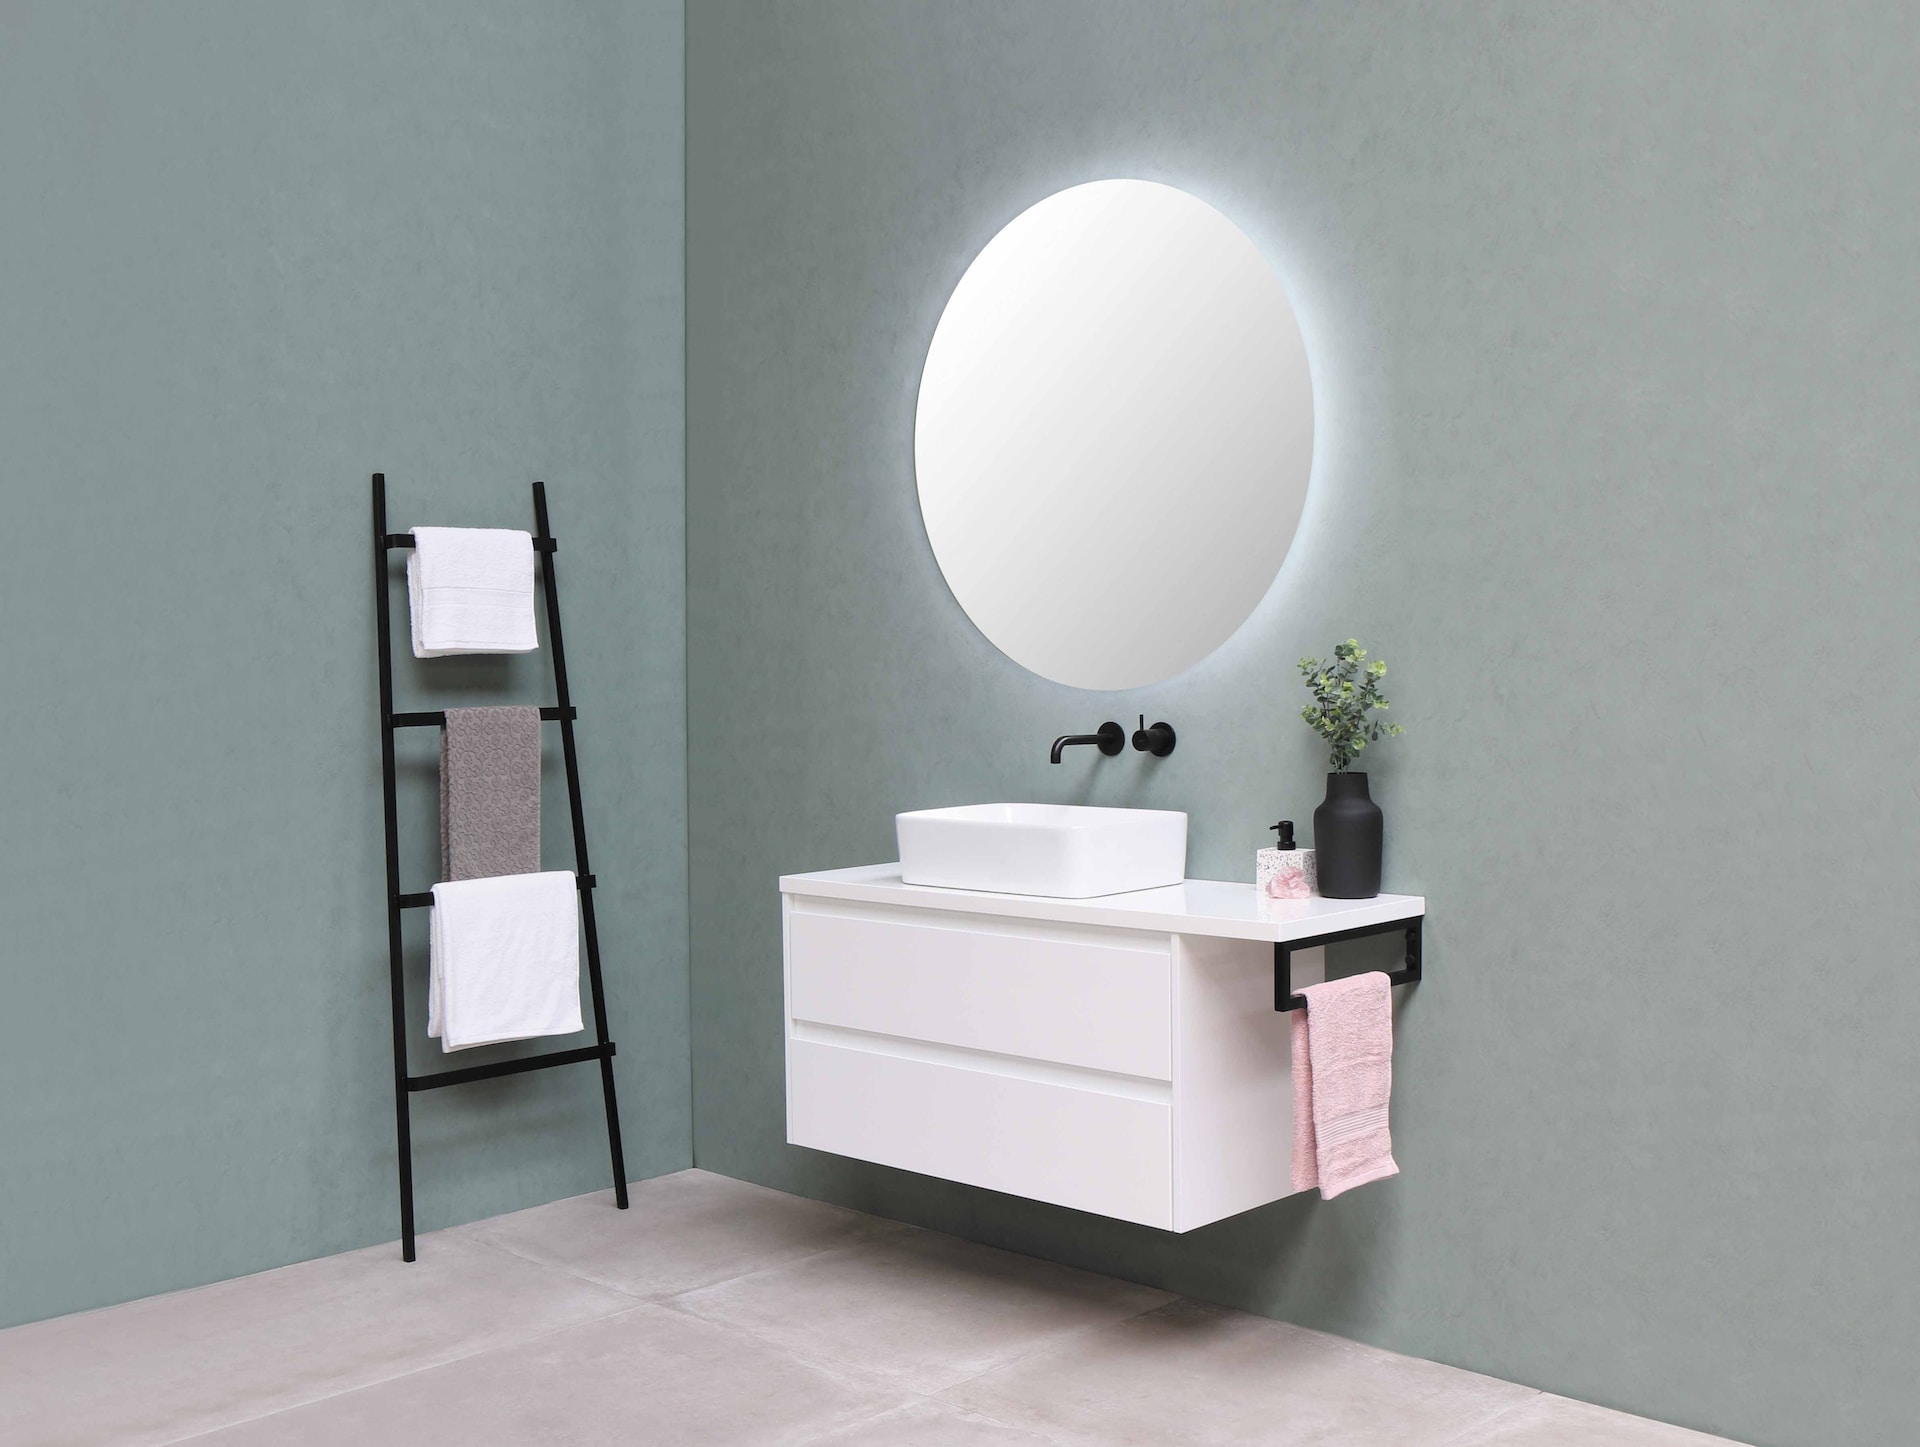
Backlit mirrors are a popular choice for bathrooms, but that’s far from the only place that can benefit from a beautifully illuminated mirror. Both a backlit bathroom mirror and a vanity mirror with LED backlights can be used, e.g., as a makeup mirror.
Another great place for a backlit mirror is your hallway. Thanks to LED lights, when you take that one final look before leaving the house, you’ll be able to see clearly whether you’re ready to go or need to fix something in your appearance. If you have a mirror in your bedroom, backlighting it with LED strips may be an interesting idea and a great alternative to ambient light that will not hurt your eyes when you need to get up at night.
You can also use the full potential of dimmable and multicolour LED light strips to turn your mirrors into functional decorations and gain a flexible solution to alter the atmosphere of your living space based on your current needs.

What is the Difference Between Lighted Mirrors and Backlit Mirrors?
There are two types of illuminated mirrors, and while their names are sometimes used interchangeably, it’s important to know the differences between them to choose the one that will give you the effect you want. The difference lies in their construction.
- A lighted mirror comes with integrated lighting, e.g. an LED light strip in the frame or LED light bulbs installed along the edges.
- A backlit mirror, on the other hand, has a built-in or external light source (usually LED strips) hidden behind it, which creates the effect of light coming from behind the mirror, responsible for its name.
What Can You Use to Backlight a Mirror?
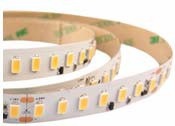
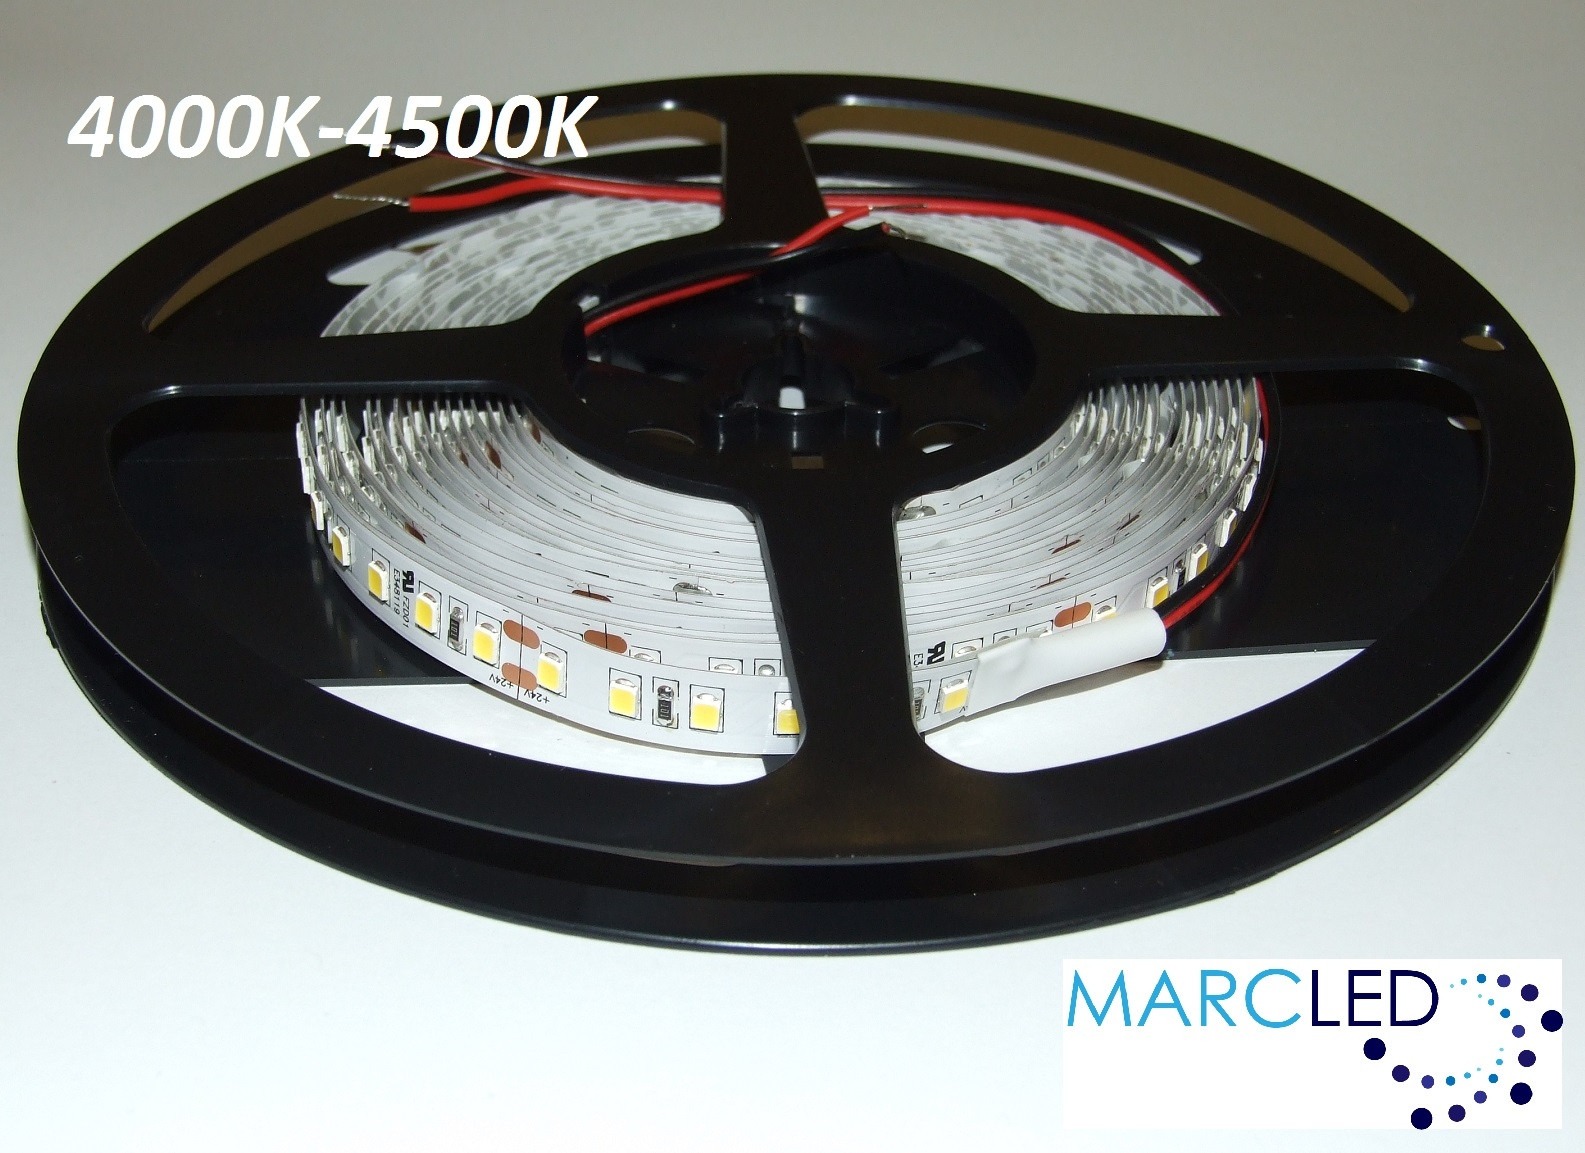
You can turn your perfectly ordinary mirror into a backlit mirror by installing LED lighting behind it. Using LED light strips is the most popular option, but the same effect can be achieved with LED backlight panels as well. However, remember that backlighting bathroom mirrors requires using waterproof products due to high levels of humidity.
You can backlight any type of mirror as long as there’s enough space between the frame and the wall to fit LED strips and a suitable power source is available.
How Can You Backlight a Mirror?
Backlighting a mirror is a simple but very satisfying DIY project. However, if you have no previous experience with installing LED light strips or other lighting fixtures, we recommend consulting an electrician first. Remember that any work that involves electricity requires caution. With this in mind, let’s move on to our short and easy-to-follow guide on how to backlight a mirror.
- Gather the necessary tools and equipment. You’ll need a tape measure, LED light strip, scissors/craft knife, LED strip to power supply connector, and power source cable.
- Measure your mirror (about 2 inches from the edge) to find out what LED light strip length you need. If you have a rectangular mirror: measure the edges and add their lengths together. If you have a circular mirror: measure the distance between the top and bottom points and multiply it by 3.14. Alternatively, you can simply place your light strip where you want to attach it (without removing the adhesive backing) to see what length you need.
- Cut off the excess length of the LED strip. Make sure to cut only where indicated (look for a sign depicting scissors on the tape, that’s the right place to cut).
- Clean the back of your mirror and dry it completely.
- Attach your LED light strip to the surface. Instead of removing the backing all at once, remove it slowly as you move along the edge attaching the LED tape. This way, the glue will not have time to dry, and there will be no risk of your LED light strip getting tangled and stuck together.
- Use the connector to connect the light strip to the power source cable or power supply. Check if everything is connected properly and the lights are working.
- Hang your backlit mirror and enjoy the beautiful effect of your work!


What Are the Benefits of a Backlit Mirror?
Unlike ceiling lights, this option provides good front lighting that comes from all sides at once, so there are no shadows that can make applying makeup difficult. There’s a reason why professional makeup artists use mirrors with integrated lighting, and now you can recreate this effect at a much more affordable price with LED strip lights!
A backlit mirror can be functional, purely decorative or combine both of these functions! They can create atmosphere and add depth to your living space, making it appear more spacious and brighter. Instead of buying expensive off-the-shelf products, you can easily create a bathroom or makeup mirror yourself with LED strip lights.
Give Your Home a Makeover With Functional Lighting!
At Marc LED you can find everything you need to backlight a bathroom mirror, a makeup mirror or any other mirror you want to hang on your walls! We offer a wide selection of quality LED light strips and accessories needed to install them.